I still remember the first time I baked a tray of tacos for a busy weeknight — the cheese bubbling, shells crackling, and everyone digging in at once. Baked tacos turn the usual quick taco night into something crispier and more hands-off, and they’re a reliable crowd-pleaser whether you’re feeding kids, roommates, or a hungry family.
If you like the convenience of taco-night but want hands-free finishing (and less mess while serving), this baked beef taco method is for you. It trims active time, keeps the assembly simple, and produces uniformly crisp shells with hot, melty cheese every bite.
Why You’ll Love This Dish
These baked tacos are fast, budget-friendly, and ridiculously easy to scale up. One pound of seasoned beef stretches across ten shells; the oven finishes them so you’re not cramming around the stovetop trying to keep shells crisp. They’re perfect for weeknights, casual parties, or a make-ahead meal that reheats well.
“Made these for taco night and everyone asked for seconds — simple prep, minimal cleanup, and the shells stayed crunchy even after sitting for a bit.” — a happy home cook
If you love recipes that free up your hands while still tasting homemade, you might also enjoy a quick oven meal like 20-minute baked salmon with garlic greens for another fast, low-effort dinner idea.
The Cooking Process Explained
Quick overview: brown the beef, season it, warm refried beans if using, fill taco shells with a small portion of meat and beans, top with cheese, and bake until everything is hot and the shells turn crisp. The oven step is what transforms soft-toasted tacos into crunchy, melty bites with minimal hands-on time.
Flow in one line: cook beef → mix seasoning → warm beans (optional) → stuff shells with small portions → arrange in dish and top with cheese → bake 15–20 minutes → garnish and serve.
For other baked, hands-off comfort-food ideas to pair with these tacos in a meal rotation, consider baked protein pancake bowls as a weekend brunch option.
What You’ll Need
1 lb ground beef, 1 taco seasoning packet, 10 taco shells, 2 cups shredded cheese (cheddar or Mexican blend), 1 can refried beans (optional), Toppings: diced tomatoes, shredded lettuce, sour cream, avocado, jalapeños
Notes on ingredients and swaps:
- Ground beef: 80/20 gives good flavor; use 90/10 for leaner results. You can swap ground turkey or plant-based crumbles if preferred.
- Taco seasoning: store-bought packet is easiest. For a DIY option, use chili powder, cumin, paprika, garlic powder, onion powder, oregano, salt, and a pinch of cayenne.
- Cheese: cheddar or Mexican blend both work; a mix of Monterey Jack and cheddar melts nicely.
- Refried beans are optional but add creaminess and help the filling stick together — warm them gently before filling.
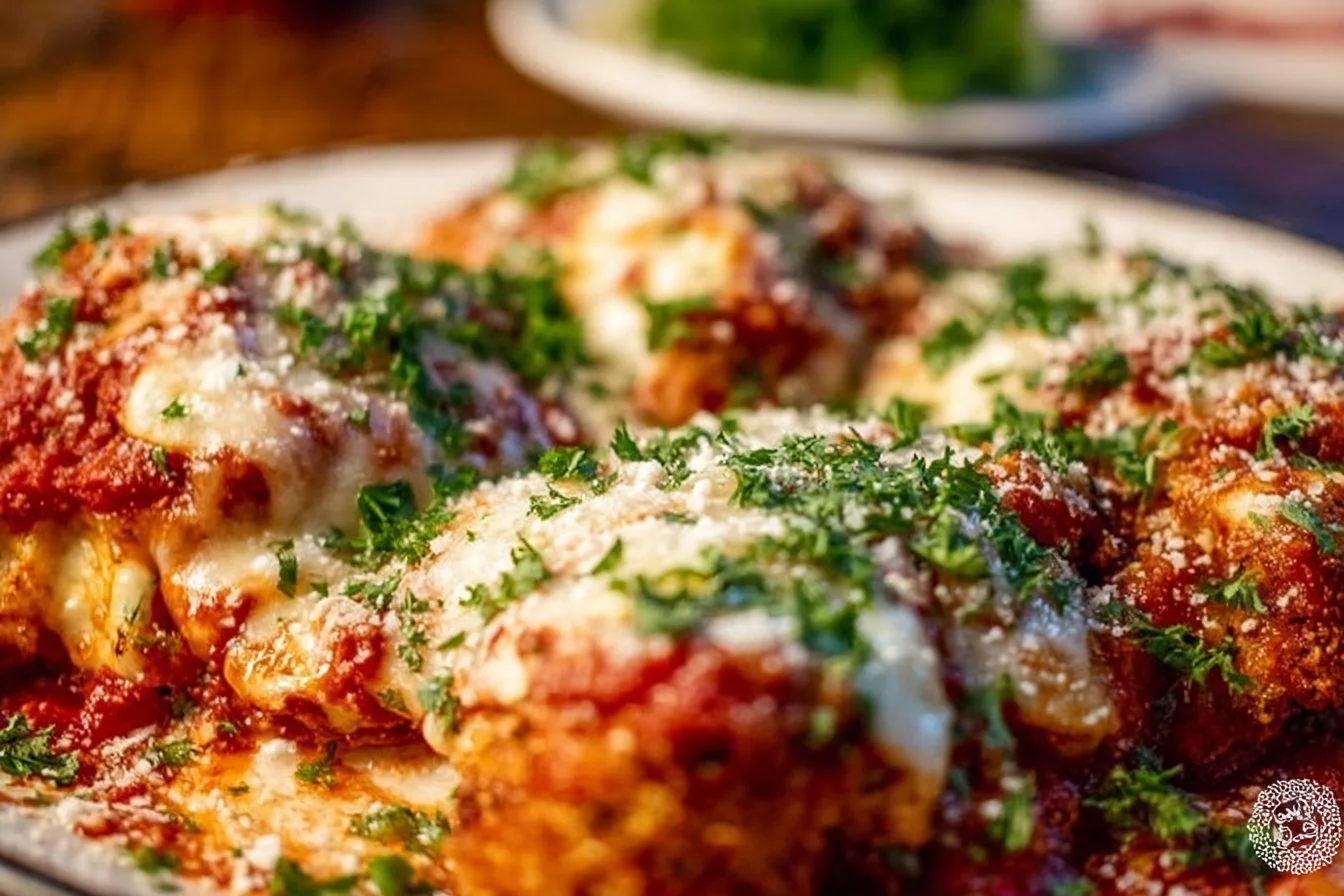
If you like crispy oven-baked handhelds, the same oven technique works well for other family favorites like crispy baked chicken tenders.
Step-by-Step Instructions
- Preheat your oven to 400°F (200°C). This high heat is what crisps the shells and melts the cheese evenly.
- Heat a large skillet over medium. Add the ground beef and cook, breaking it up, until no pink remains, about 6–8 minutes.
- Drain excess fat from the skillet to avoid greasy tacos. Return the skillet to medium-low heat.
- Stir in the taco seasoning and a splash of water (as the packet directs) and let it simmer for a few minutes so the spices bloom and the sauce thickens.
- If you’re using refried beans, warm them in a small pot over low heat or microwave briefly until smooth and spreadable.
- Spoon about 2–3 tablespoons of the seasoned beef into each taco shell. Add a spoonful of warm refried beans if using — the beans help bind the meat and add richness.
- Sprinkle each filled shell with shredded cheese, then arrange the tacos snugly in a baking dish so they support each other.
- Add a little extra cheese over the tops for a gooey finish, then bake for 15–20 minutes until the cheese is melted and the shells are crisp.
- Remove from the oven, let cool for a minute or two, then top with diced tomatoes, shredded lettuce, sour cream, avocado, and sliced jalapeños before serving.
A small tip while filling: keep portions modest so the shells stay upright and cook evenly.
Best Ways to Enjoy It
Serve these baked tacos straight from the dish for a family-style meal, or arrange on plates with garnishes for a more polished presentation. Pair with:
- A simple cilantro-lime rice or quick Spanish rice.
- A crunchy corn and black bean salad or classic Mexican street corn (elote).
- Chips and guacamole, or a pico de gallo for fresh acidity.
Drink pairings: a light lager or citrusy margarita for adults, sparkling water with lime or a hibiscus iced tea for a family-friendly option.
Storage and Reheating Tips
- Refrigerator: Store leftover baked tacos in an airtight container for up to 3 days. To prevent sogginess, line the container with paper towel and place tacos in a single layer if possible.
- Freezer: You can freeze individual tacos in a single layer on a baking sheet until solid, then transfer to a freezer bag for up to 1 month. Thaw overnight in the fridge before reheating.
- Reheating: For best texture, reheat in a 375°F oven for 8–12 minutes until warmed through and crisp again. A toaster oven works great for one or two tacos. Microwaving will warm them quickly but will soften the shells.
Food safety: discard any taco fillings left at room temperature more than two hours.
Helpful Cooking Tips
- Don’t overfill the shells — 2–3 tablespoons of meat ensures they hold their shape and crisp properly.
- If shells wobble, use the baking dish edges or a foil-wrapped rack to cradle them upright.
- For extra crispness, briefly brush shells with a little oil before filling.
- Make the beef ahead: cooked, seasoned beef keeps well and speeds assembly on busy nights.
- If you want even melting, cover the dish for the first 5 minutes of baking, then uncover to crisp the shells and brown the cheese.
For another crunchy oven-finished favorite, the same technique can be adapted from recipes like crispy baked chicken tenders, which use a similar bake-to-crisp method.
Recipe Variations
- Cheesy enchilada-style: use enchilada sauce instead of beans, add extra cheese, and top with cilantro and sliced radishes.
- Tex-Mex vegetarian: swap beef for seasoned lentils or a mix of black beans and corn; add a sprinkle of smoked paprika for depth.
- Breakfast twist: fill shells with scrambled eggs, breakfast sausage, and cheese, then bake for a brunch crowd.
- Low-carb: use firm, oven-safe lettuce cups and briefly broil the filling to warm through (note: this changes texture).
- Spice it up: add chopped green chiles or a dash of hot sauce to the meat mix.
Frequently Asked Questions
Q: Can I make these ahead of time and reheat later?
A: Yes. Assemble and bake them, then refrigerate for up to 3 days and reheat in a 375°F oven until heated through. For longer storage, freeze assembled tacos (flash-freeze first) for up to 1 month.
Q: What can I use instead of refried beans?
A: Use black beans (drained and mashed slightly), guacamole for creaminess, or omit beans altogether. A smear of cream cheese mixed with salsa also works as a binder.
Q: Can I use soft tortillas instead of hard taco shells?
A: Yes — use small flour tortillas, lightly brush with oil, shape them in the baking dish so they cup, and bake until edges are crisp. Timing may vary, so watch carefully.
Q: Is this recipe microwave-safe for reheating?
A: You can microwave leftovers, but the shells will lose crispness. For best texture, reheat in an oven or toaster oven.
Q: How can I make this gluten-free?
A: Use gluten-free taco shells and check your taco seasoning for hidden gluten. For a gluten-free baked taco guide, see this variation: Easy Crispy Baked Tacos (gluten-free) inspiration.
Conclusion
Baked tacos are a simple way to upgrade taco night with minimal extra effort — crisp shells, gooey cheese, and quick cleanup. For a different take on crunchy baked tacos, try the Easy Crispy Baked Tacos (gluten-free) for dietary inspiration, or explore a fast, cheesy version with a similar finish at Cheesy Baked Tacos Recipe (20 Minutes). Enjoy — and don’t skimp on the toppings.
PrintBaked Beef Tacos
These baked tacos are a fast and budget-friendly way to enjoy a crispy, cheesy meal with minimal effort.
- Prep Time: 15 minutes
- Cook Time: 20 minutes
- Total Time: 35 minutes
- Yield: 4 servings 1x
- Category: Main Course
- Method: Baking
- Cuisine: Mexican
- Diet: None
Ingredients
- 1 lb ground beef
- 1 taco seasoning packet
- 10 taco shells
- 2 cups shredded cheese (cheddar or Mexican blend)
- 1 can refried beans (optional)
- Toppings: diced tomatoes, shredded lettuce, sour cream, avocado, jalapeños
Instructions
- Preheat your oven to 400°F (200°C).
- Heat a large skillet over medium. Add the ground beef and cook until no pink remains, about 6-8 minutes.
- Drain excess fat, return skillet to medium-low heat, and stir in taco seasoning with a splash of water; let simmer.
- If using, warm refried beans in a small pot or microwave.
- Spoon 2-3 tablespoons of seasoned beef into each taco shell; add beans if using.
- Sprinkle shredded cheese, arrange tacos in a baking dish, and top with more cheese.
- Bake for 15-20 minutes until cheese is melted and shells are crisp.
- Top with diced tomatoes, lettuce, sour cream, avocado, and jalapeños before serving.
Notes
Keep taco filling portions modest to maintain shell shape. Brush shells with oil for extra crispness if desired.
Nutrition
- Serving Size: 1 taco
- Calories: 350
- Sugar: 5g
- Sodium: 400mg
- Fat: 12g
- Saturated Fat: 4g
- Unsaturated Fat: 6g
- Trans Fat: 0g
- Carbohydrates: 45g
- Fiber: 3g
- Protein: 15g
- Cholesterol: 30mg